Peter Hatherell’s latest work
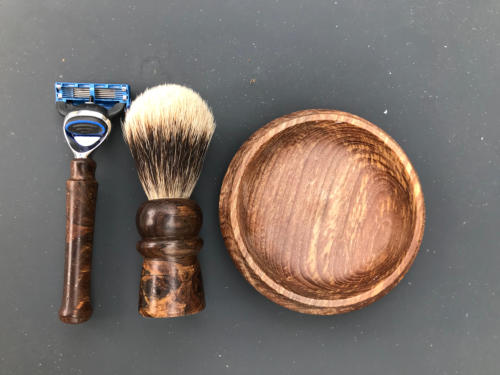
The wood set is in burr elm from my brother’s tree in Scotland, stabilised by
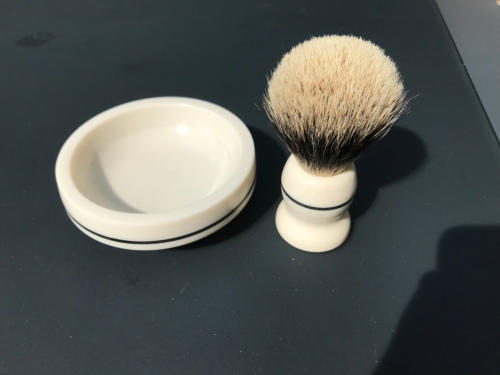
impregnating with heat-cure resin in a vacuum pot. The white soap dish is made
from Corian kitchen work-top. I needed 3 layers to get the thickness so I disguised
the joins with black Milliput. The brush is artificial ivory with Milliput inlay to match
the dish. Both dishes were made to fit a readily available shaving soap refill.
More of Colin Bushell’s latest work
Change of Use - Fence Panel Post
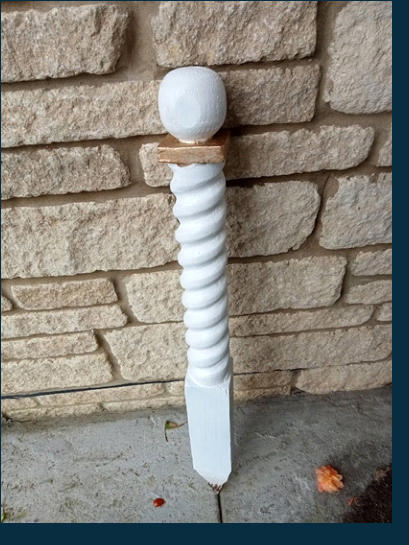
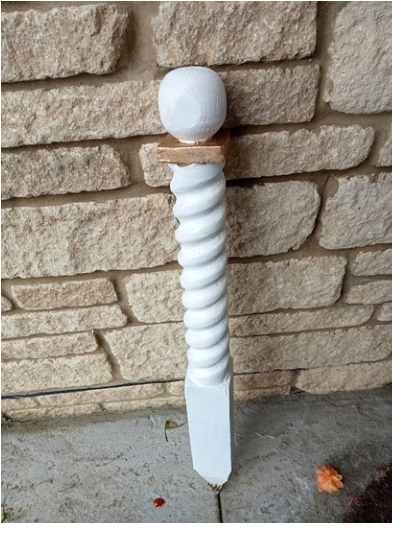
Figure 1 - Garden Spiral
(Note: It is recommended that you watch at least Part 1 of Stuart Mortimer’s video on YouTube on making a
spiral twist)
How many of you, I wonder, have six-foot wooden garden fence panels with traditional three-inch square
posts supporting it. What, I wonder, do you do with the remaining bit of post after it has broken after the
fence has been blown down in heavy winds. This generally happens because the post has rotted at the
bottom leaving a reasonable piece of timber.
Well my fellow wood turners I have a solution that will turn your garden into something more regal.
Firstly, assess the post and cut any rotten bits off it first. Cut the post to a size that will fit your lathe bed.
If you only have a small lathe don’t worry because you can make, what I am proposing, into two sections
as it will not be load bearing.
Check the post for buried nails and mark them so as to identify where they are situated. Mount the post
between centres and cut a tenon to fit your chuck at one end. Take the post off the lathe, fit the chuck and
remount the post. Now is the time to remove the nails. (I found this the easiest place to keep it steady
and at a working height). The object you are about to make is not going to be a contender for The World
of Wood so you can dig as deep as you like to get the nails out. Once out make a piece of soft dowel and
bang it home into the hole where the nail came out cutting any protruding piece with a chisel. Any other
damage around the hole, use a wood filler. No need to sand just yet.
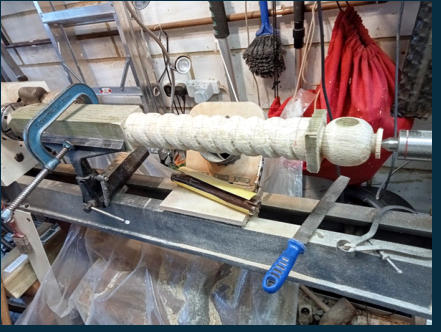
Figure 2: Post held between centres. Nails removed. Ball and barley twist. (Note markings).
What I made and that which I am encouraging you to do, is to turn a ball on the end and to make a
double barley twist just below it. The amount of twist is entirely up to you but because it’s a rough
piece of timber it’s a good way of learning the technique. To learn how to make a barley twist I used
Stuart Mortimer’s video on YouTube (How to Produce a Spiral Twist) only because its available and at
hand even though John has demonstrated the technique. What should be born in mind is that the demo
is of a single twist and the timber is of much closer grain. The marking out is as per the video however
for a double twist there is a second starting point 90 degrees around from the first starting point.
I used a tenon saw to cut into the timber for the trough however be careful not to cut too deep as the
saw mark will have to be filed or sanded away later. The depth of trough is as deep as you want it to be
for this particular project.
You will undoubtedly find the techniques that Stuart has employed in chasing out the trough of the
barley twist, using his adapted fingernail gouge, a little difficult because of the coarseness of the grain. I
had to resort to a mallet and an ordinary, very sharp, chisel. The remainder of the timber taken away
using a rasp, half round and rats tail files, coarse abrasive and so on.
Having sanded it all down and to accentuate the peaks and the troughs to a reasonable level, I gave the
whole thing a coat of white undercoat. When dry I removed it from the lathe and cut a point on the end
of the post with a bandsaw. I finally painted it in a coat of white gloss and the square section in metallic
gold.
If you have a short lathe bed make it in two halves by making the ball and twist on one piece with a
sturdy spigot on one end. With the base, drill/turn a hole the same size as the spigot marrying the two
together on completion using a good glue. I would suggest the spigot be about 70mm long.
As you will see from Figure 1 my effort is far from perfect and I am no artist. The ball could have been
rounder but I wanted to keep as much timber on it as possible. Of course it doesn’t have to be a barley
twist but I had never attempted one before so it was a good excuse to try.
Finally, the inspiration came from a visit to a stately home, Derham Park I think, where any number of
items like this are distributed within the borders.
Wood turning doesn’t always have to be arty. I get much more satisfaction in incorporating the
techniques into other practical applications such as this and my tape measure holder on a previous
account.
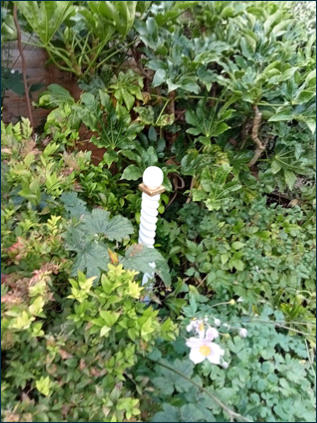
Figure 1 - Decorative Spiral Post


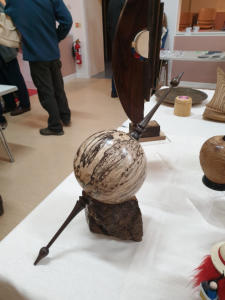
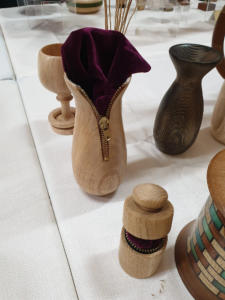
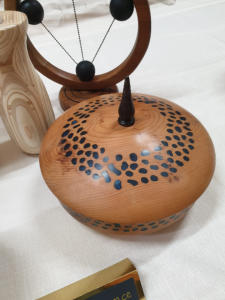
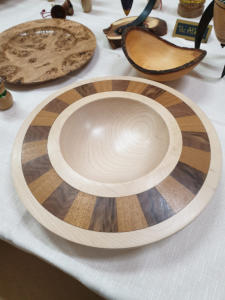
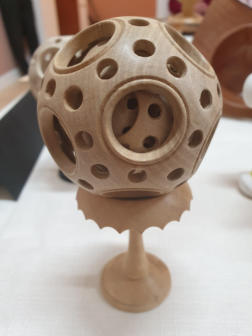
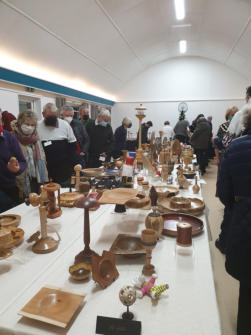
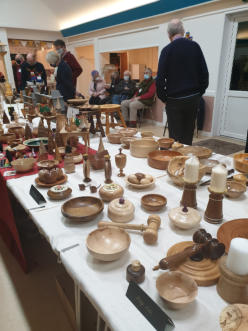
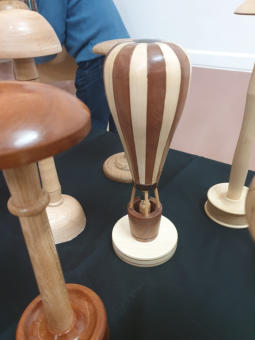
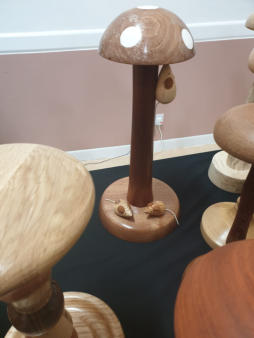
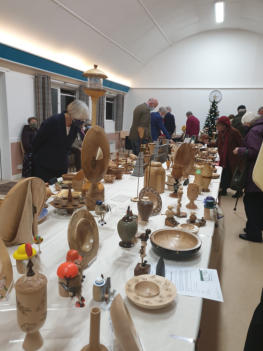
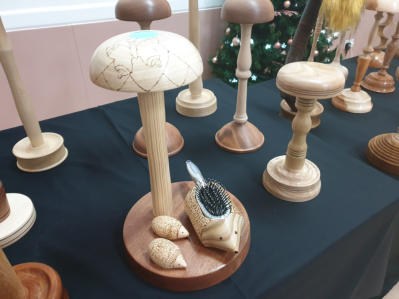
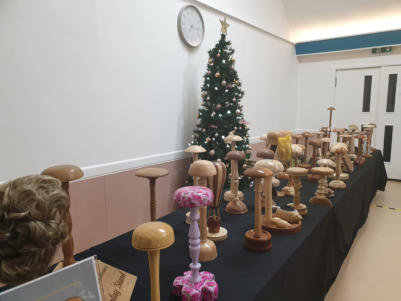
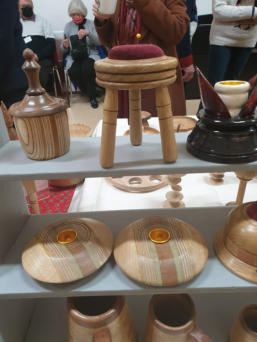
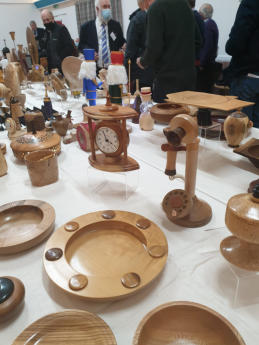
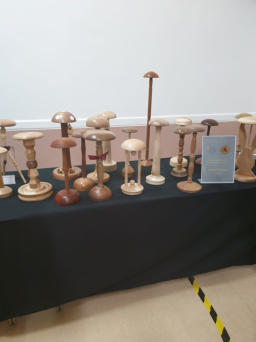
Some photos of our Annual Gallery Night from December 2021


A
fantastic
demonstration
was
done
by
both
Peter
Hatherell
and
Alan
Reed,
utilising
2
lathes,
at
our
club
night
in
January
2022.
Peter
showed
us
all
a
relatively
foolproof
way
of
cutting
bottles
using a wood turning lathe and Alan turned wooden receptacles for the cut glass.
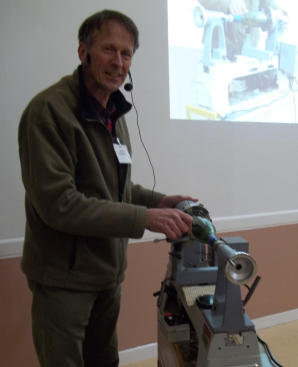
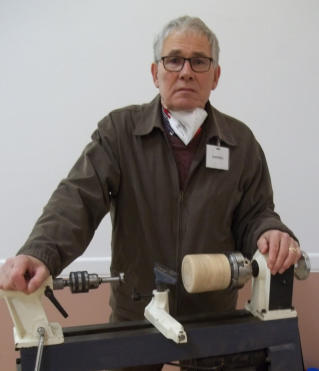
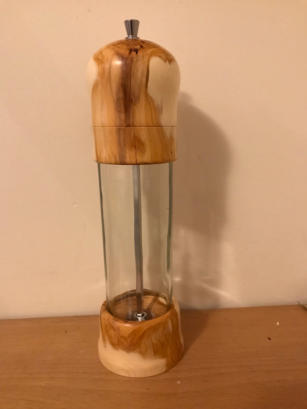
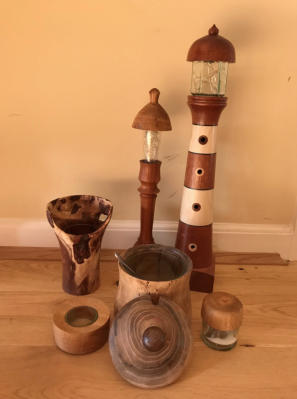

Peter Hatherell
Alan Reed
Some examples of Peter’s
amalgamation of wood and
glass

Christmas 2022 Display by some of our members
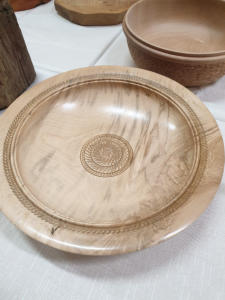
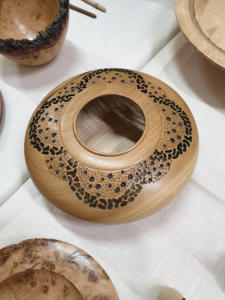
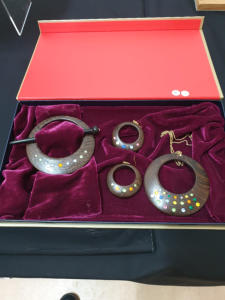
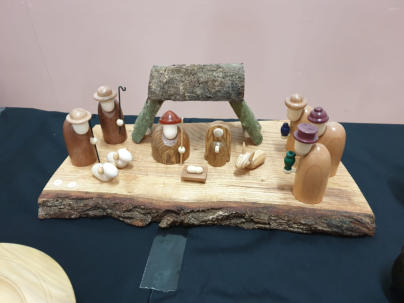
Here are just a few photos of some of the display pieces laid out by members on Thursday 8th December 2022